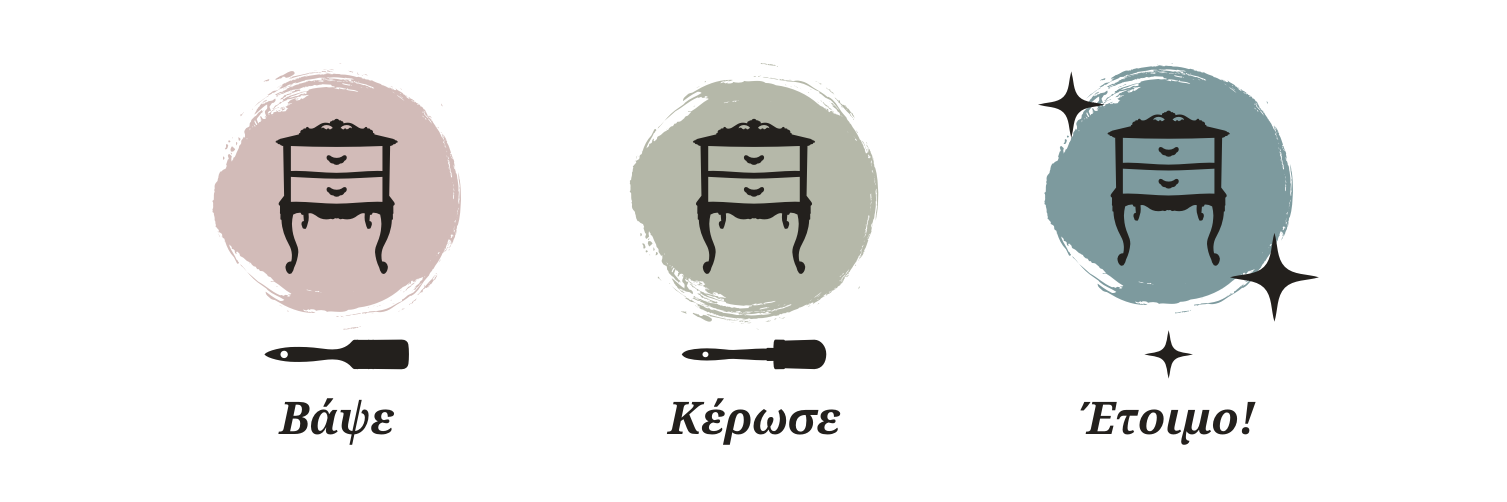
With Nordic Chic's colours, anyone can paint their furniture themselves and very easily. You clean, paint and then seal with varnish or wax. And you are ready! So simple !
Here you will find detailed instructions for simple painting as well as for various impressive styles. And of course Nordic Chic representatives are always available for any questions. Because as we say... above all we are a creative bunch !
Nordic Chic Outdoor & More Usage Tips Nordic Chic Outdoor & More
It is an innovative Certified Chalk Color with an embedded varnish with a satin finish and the proven quality of Nordic Chic.
The surface preparation process is much the same as for Nordic Chic Furniture Paint. Make sure that the surface is clean, dry and free of grease and penetrating substances. Remove any paint residue that is peeling off from older paints. Due to the embedded varnish, the paint is particularly suitable for raw (porous) wooden surfaces. Otherwise, either a good polishing of the surface or a coat of primer (Nordic Chic® Primer is recommended) is required before painting. Finally, please ensure that the surface to be painted is free of moisture, as otherwise there is a risk of the paint peeling off in the future.
Mix the paint very well before use. Apply two coats of Outdoor & More, ideally with a light gloss coat between coats. If necessary it can be thinned with water.
We recommend using Nordic Chic® brushes.
Allow the first layer to dry for about 12 hours before glazing. The second coat will be touch dry after about 1 hour, depending on temperature, and will be ready to use after 2-5 days depending on weather and humidity. Do not hurry !!!
Immediately after use, don't forget to clean your brushes thoroughly with warm soapy water so that they are ready for the next use.
Tips for using Nordic chic Furniture Paint
Preparation of the surface
The only enemies of chalk paint are fats, grease and silicone!
So, before you start, clean the surface very well to make sure it is free of grease or soap. Especially in cases where there was grease such as kitchen cabinets etc. we also use a special product for the ultimate cleaning.
In case the "dirt" persists, use Nordic Chic's Primer which blocks the surface and prevents stains from coming out on the surface. Alternatively, and only in these cases, after cleaning the surface, you can seal the surface with two coats of Top Coat, which works in most cases
In cases of cracks or dents in the furniture, we polish or stucco as appropriate and, of course, depending on the result we are aiming for.
Painting
Carefully open the container and stir, without adding water, with the help of a stick.
Then depending on the surface and the result we want we can either paint directly or transfer a quantity to a bowl and add some water (preferably deionized) e.g.10%-20%.
Whether you need to add water and how much you see in practice (with a test brush) depends on the surface you are painting.
Usually with Nordic Chic, we moisten our brush (with a water spray or by dipping it and draining it well) and then we paint the first hand without diluting it and dilute the second hand a little if we want. The first hand will only need thinning if you are painting a rough wood or a surface with pores. You'll know because the paint won't spread. In this case, spray some water on the already painted surface and spread the paint and then dilute the paint in the bowl a little more.
Tip : To dilute the paint, it is recommended to transfer a quantity to another container and add the water. Do not dilute inside the original container as you risk adding too much water and then having difficulty painting.
For the usual and simple way of painting, we work with our brush as parallel as possible to the painting surface in order to make good erasure, i.e. not to show where the brush starts and ends and to make the brushstrokes blend together. Lay straight and parallel strokes. The drying time and the time required between the two hands is set by the factory at 1-6 hours, always taking into account the weather conditions (temperature, humidity). In Greece, as a rule, the time required is much shorter. Particular care is required when painting melamine, tiles or very glossy surfaces. In these cases we leave more time between the first and second hand - ideally even a day (to be sure that the first hand is completely dry)
After the second coat of paint has dried, because the paint has open pores, it is necessary to apply some kind of coating over it, i.e. either Candle (Clear Wax) either water varnish (Topcoat).
Attention we do not apply both!!! The norm in decorative furniture is the candle. The varnish is chosen in cases of surfaces with heavy use, outdoor objects or objects in contact with moisture.
The coating seals the paint and makes it resistant to water and stains.
After each painting, wash the brushes with soap and water to make them ready for the next use.
Application Nordic Chic Clear Wax (Clear Wax)
The wax is easily applied with a special brush with natural hair or a cotton cloth. Apply it on the surface like a cream without being particularly concerned about the direction of the brush but make sure to cover all the spots and any indentations/cracks. After 5-10 minutes with a clean cotton cloth we wipe the surface lightly to remove the excess wax and polish the result discreetly and beautifully.
If we want, the waxing process can be repeated at any time we feel that our furniture needs some freshening up. Also with a little wax we can remove any stains that our furniture may later acquire.
The time required for the paint to fully stabilize with the wax and for the final result to reach its maximum durability (cure time) is 7-15 days. During this time we are more careful with the painted surface and do not touch heavy objects on it. If we want a 24-hour period after the initial waxing, during the cure time, we rub/scrub the waxed surface with a dry soft cloth to give it a matte sheen. This process is called buffing.
After each waxing, wash the brush immediately with warm water and soap and do not use it again while it is still wet.
Attention the wax brush is not used for other material (paint or varnish) and upside down.
In case we want to patina with coloured wax, we apply it after the transparent wax so that the surface is first protected and then we can work with the coloured wax more easily by "erasing" with transparent wax what we don't like.
Nordic Chic Topcoat application
We leave the last hand paint to dry very well - at least 48 hours - and then spend 2 minutes evenly hands Nordic Chic polish Nordic Chic without thinning. Between the two coats of varnish, allow at least another 2-5 hours to pass and ideally polish the surface very lightly before applying the second coat. Attention, we pay special attention that the paint has dried well before we apply the first hand varnish as otherwise moisture may be trapped under the varnish and the paint may turn white or the varnish may not dry.
Then we let the surface dry thoroughly for at least 2 days and if we want even more protection (e.g. in bathrooms or garden furniture) we can apply a third coat.
In the case of surfaces with very heavy use such as cabinets or kitchen table or worktops, we can apply additional coats of varnish for extra protection and durability.
As in the case of the wax after the last coat of varnish, for 6-7 days, depending on the weather conditions, the materials still interact with each other to give the final stable result. During this time, do not place heavy objects on top and do not use the surface!
Use of coloured wax
Nordic Chic has ready colored candles, with which you can create the unique furniture you dream of!! Coloured candles add depth and character to the colour and are the key to beautiful patinas. You can choose between Rustic Wax (brown wax), Black Wax, Grey Wax and White Wax.
Alternatively you can make your own coloured wax, usually by mixing the transparent (but not only) Nordic Chic Clear Wax with a small amount of paint or metallic powder (fairydust) to achieve the exact shade you want.
The way to use the coloured candles is the same. First apply 1-2 thin layers of transparent wax to fully seal the colour. Then you can, either immediately or later, apply the coloured wax to any areas you want to highlight and after a while wipe it off with a clean lint-free cloth. You usually apply the coloured wax to recesses and carvings and to the outline of cabinets. If the effect comes out too dark or too bright, you can correct it by using some clear wax as an "eraser". After the coloured wax you don't need to reapply transparent wax but keep an eye on the surface for the whole cure time, as in the case of the transparent wax.
Don't forget to wash the brushes well with warm water and soap and let them dry for the next use!